Tornado框架中的Requesthandler
上一篇博文中,我在我的机器上搭建了tornado框架,并运行了helloworld。在这篇文章中,我将尝试利用tornado接收用户提交的参数和数据,完成一个文件上传的小demo,之中会涉及到RequestHandler和tornado的模版机制。Let’s go.
0x1:RequestHandler是个什么家伙?
还记得上一个Helloworld工程的代码吗?我们的MainHandler继承了tornado.web.RequestHandler,那么这个RequestHandler到底是何方神圣?它能够干些什么呢?先看看官方提供的文档怎么说:
Subclassing RequestHandler
Most of the work of a Tornado web application is done in subclasses of RequestHandler. The main entry point for a handler subclass is a method named after the HTTP method being handled: get(), post(), etc. Each handler may define one or more of these methods to handle different HTTP actions. As described above, these methods will be called with arguments corresponding to the capturing groups of the routing rule that matched.Within a handler, call methods such as RequestHandler.render or RequestHandler.write to produce a response. render() loads a Template by name and renders it with the given arguments. write() is used for non-template-based output; it accepts strings, bytes, and dictionaries (dicts will be encoded as JSON).
Many methods in RequestHandler are designed to be overridden in subclasses and be used throughout the application. It is common to define a BaseHandler class that overrides methods such as write_error and get_current_user and then subclass your own BaseHandler instead of RequestHandler for all your specific handlers.
可以看看得出来,RequestHandler是一个专门用于处理http请求的类。它能够获得用户访问的各种数据,也能够通过write方法等向用户回复响应。所以,应用的具体逻辑应该在RequestHanler的子类中进行,例如查询数据库、加载模版等等。该类的具体描述可参见官方更详尽的介绍Tornado RequestHandler类文档,这之中详细列出了该类的各成员变量及提供的方法。
仔细阅读文档之后,我们就可以了解到:
每种类型的http请求方法都有一个对应的方法,例如常见的GET–>get(),POST—>post()。
render()方法可以加载模版
write()方法可以直接向客户端写入任意内容
get_argument()方法可以取得用户提交的某个参数的值
用户上传的文件会被转换成files变量,可以对用户上传的文件进行后续处理
……..
有了以上这些内容,我们已经能够完成想完成的任务了。
0x2:Demo的需求
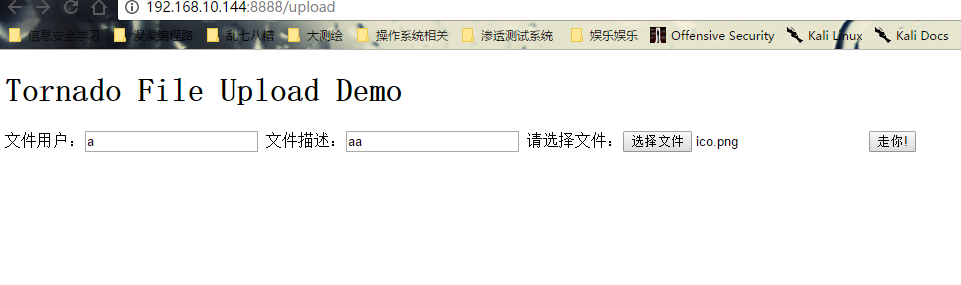
接收用户的文件上传请求
上传文件的后缀名检查,重命名,保存至指定目录
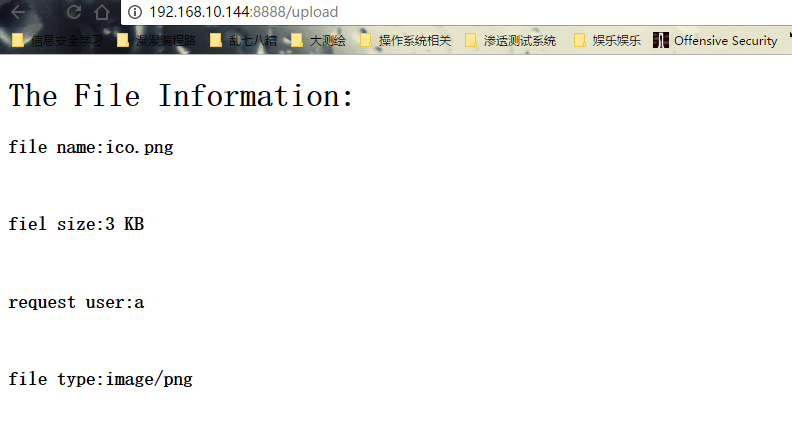
渲染模版,输出用户上传的文件的详细信息
明确了需求,接下来就是编码工作了。
0x3:具体编码
python部分代码:
1 | import tornado.web |
html模版部分代码:
template/upform.html
1 |
|
template/result.html
1 |
|
0x4:实际验证效果
1 | star-chen@starchen-vb:~/ProDev/tornado$ ls upload/ |
最后可以看到,上传的文件已经成功的躺在了目标文件夹之中了。
0x5:思考
这个简单的Demo完成用户请求信息的获取,并成功的上传了文件。但是并未进行文件的验证,用户可以上传任意文件,对于服务器君来说,这可是不能忍滴。
0x6 参考链接
http://www.tornadoweb.org/en/stable/guide/structure.html
http://demo.pythoner.com/itt2zh/ch2.html
https://technobeans.wordpress.com/2012/09/17/tornado-file-uploads/